Quick Note:
This section is specific to the hardware I used. If you have similar hardware to what I got, feel free to use this article as a companion guide. Otherwise, feel free to skip to the next part.
Configure Cisco Smart Switch
The Cisco switch is configured on first boot to pull from DHCP or default to 192.168.1.254. The easiest path is to simply not connect the switch and set a static IP before adding it to the network.
- Power on the Switch
- Connect the switch to a single machine for configuration (do not connect it to the rest of your network yet)
- If your main network is on the same subnet as the factory setting of the switch, disconnect your machine from that network until you are done configuring the switch.
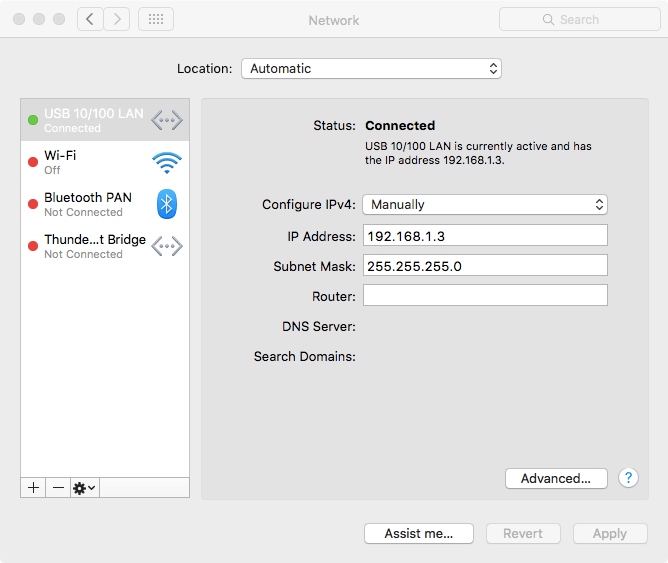
- Set your machine to an IP within the same subnet as the switch.I’m on a Mac so I configured
it this way (see: Figure 1)
- IP Address: 192.168.1.3
- Netmask: 255.255.255.0
- Router: <blank>

Fig. 1
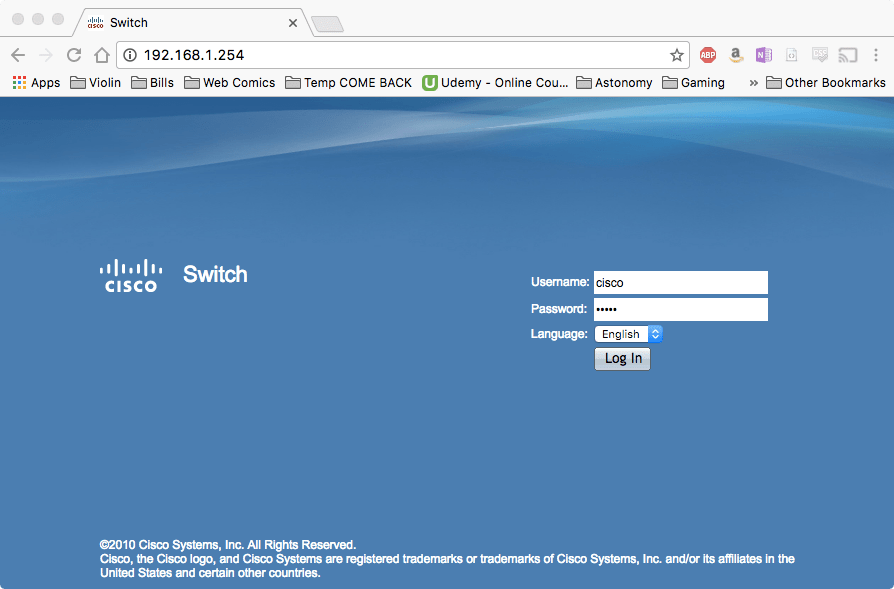
- In your web browser navigate toh
ttp://192.168.1.254 (see: Figure 2)- Default login:
Username: cisco
Password: cisco
Fig. 2
- Default login:
- You will be prompted to change yo
ur password. (see: Figure 3) Be sure to changeit to a strong yet rememberable password. Password TIPs. My personal advice, don’t think of it as passWORDS any more but instead a passPHRASE.
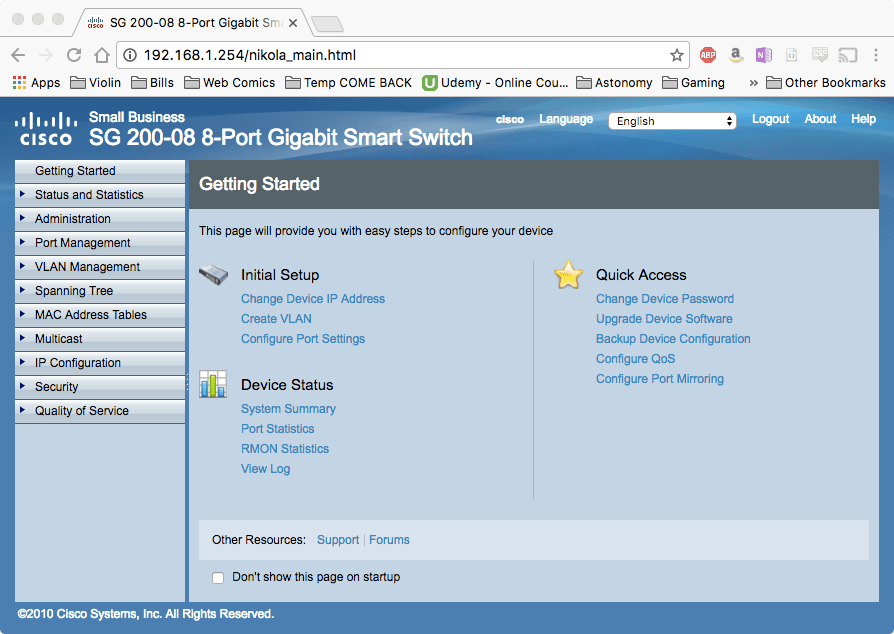
Fig 3 - Presented with a getting started pageclick on “Change Device IP Address” (see: Figure 4)

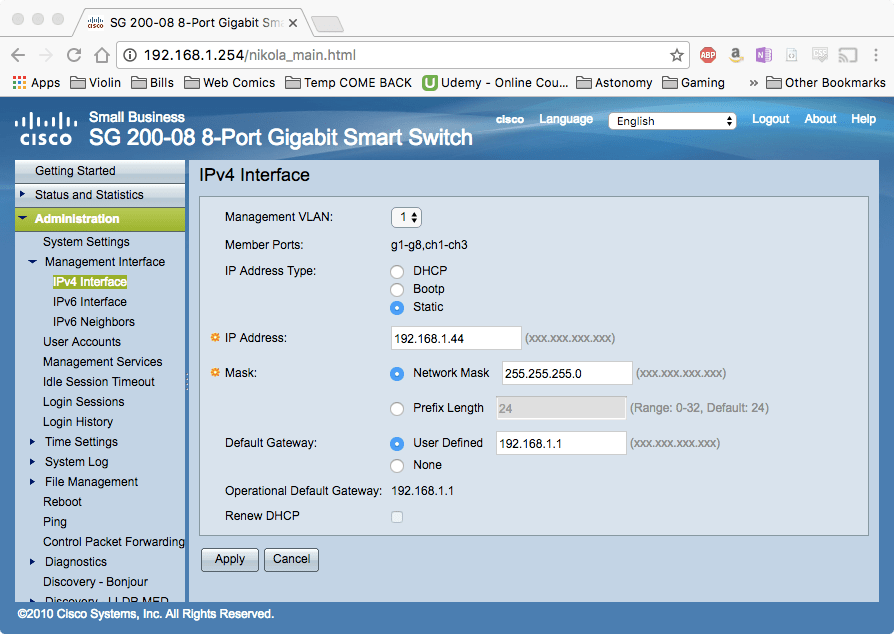
Fig 4 - Set the IPaddress, Network Mask, and Gateway. Click Apply. (see: Figure 5)

Fig 5 - The site will prompt you and change itself to the new IP. Any further configuration needs to be done on the new IP. But even though you are on the new IP your settings are not saved.
- Remember that clicking apply is not enough, you must also click on the save link that shows itself at the top right of the page, to the left of the language and logged in user.
- Click Apply one last time
- Now your changes will persist between switch boots

Configure HP Node
Configure iLO
First thing we need to do with our HP Nodes is to configure iLO.
- During boot hit F8 when iLO is finished booting (Figure 6)

Fig 6 - Once the iLO menu screen has appeared, in the menu bar select Network -> DNS/DHCP (Figure 7)

Fig 7 - Switch DHCP to off as leaving it on would make remote administration of the box that much harder. Also change the DNS name if you so desire. You will also be able to change the name once inside the iLO web interface. (Figure 8)

- Now we need to set the static IP. In the same Network menu select NIC and TCP/IP (Figure 9)

- Enter your desired IP Address and your networks Subnet Mask and Gateway (Figure 10)

- In the next screen enter your DNS Server IP and your Domain Name. Unlike what I typed in the screenshot, this is only the domain and not the FQDN. (Figure 11)

Fig 11 - Go to File -> Exit, your machine will reboot. Verify the iLO IP address is what you set (Figure 12), if it is correct then hit F9 to enter the BIOS (Figure 13)

Fig 12 
Fig 13


Disable RAID
After some poking around, HP’s RAID driver is known to have problems, but in addition to I only have one drive and honestly my clouds persistent data will not be on the HP’s but instead reside elsewhere. More on that when we get to OpenStack.
- Once you are in the BIOS enter the System Options (Figure 14)

Fig 14 - Select the SATA Controller Options (Figure 15)

Fig 15 - Select the Embedded SATA Configuration (Figure 16)

Fig 16 - A Warning will pop up (Figure 17), hit enter and select Enable SATA AHCI Support (Figure 18)

Fig 17 
Fig 18 - Finally we need to select the device we will be installing from. The tower does not come with an optical drive and so I chose to install from a USB stick. Back on the Main Menu of the BIOS select Standard Boot Order (IPL) (Figure 19)
- Reorder/confirm that the boot order has the USB DriveKey as the first device. (Figure 20)
- Escape and Save the BIOS config.


